Stata and Jupyter
Setup
There are two primary approaches to using stata with jupyter:
and they have different configurations catering to different workflows.
Stata Jupyter Kernel
The Stata Jupyter Kernel
enables using stata directly in jupyter notebooks.
It is effectively an alternative interface to use stata if you like
jupyter as an interface.
This can be useful if you want to write notebooks that are integrated
with stata code.
It supports a wide range of interaction with stata
To install using anaconda tools you can use the following commands
in a jupyter notebook:
!conda install -y -c conda-forge stata_kernel
once the software is installed you need to install the jupyter kernel
on your computer
!python -m stata_kernel.install
Warning
[macOS] When I ran the kernel install step I got the following error:
Cannot import kernel
Installing Jupyter kernel spec
WARNING: Could not find Stata path.
Refer to the documentation to see how to set it manually:

https://kylebarron.dev/stata_kernel/using_stata_kernel/configuration
and had to manually set the stata path in the .stata_kernel.conf file located
in your home directory to the following:
# Path to stata executable. If you type this in your terminal, it should
# start the Stata console
stata_path = /Applications/Stata/StataIC.app/Contents/MacOS/StataIC

# **macOS only**
# The manner in which the kernel connects to Stata. Either 'console' or
# 'automation'. 'console' is the default because it allows multiple
# independent sessions of Stata at the same time.
execution_mode = automation
Unfortunately StataIC is limited on mac os so I had to use automation
instead of console as per
this issue in the docs
However this does enable the use of browse
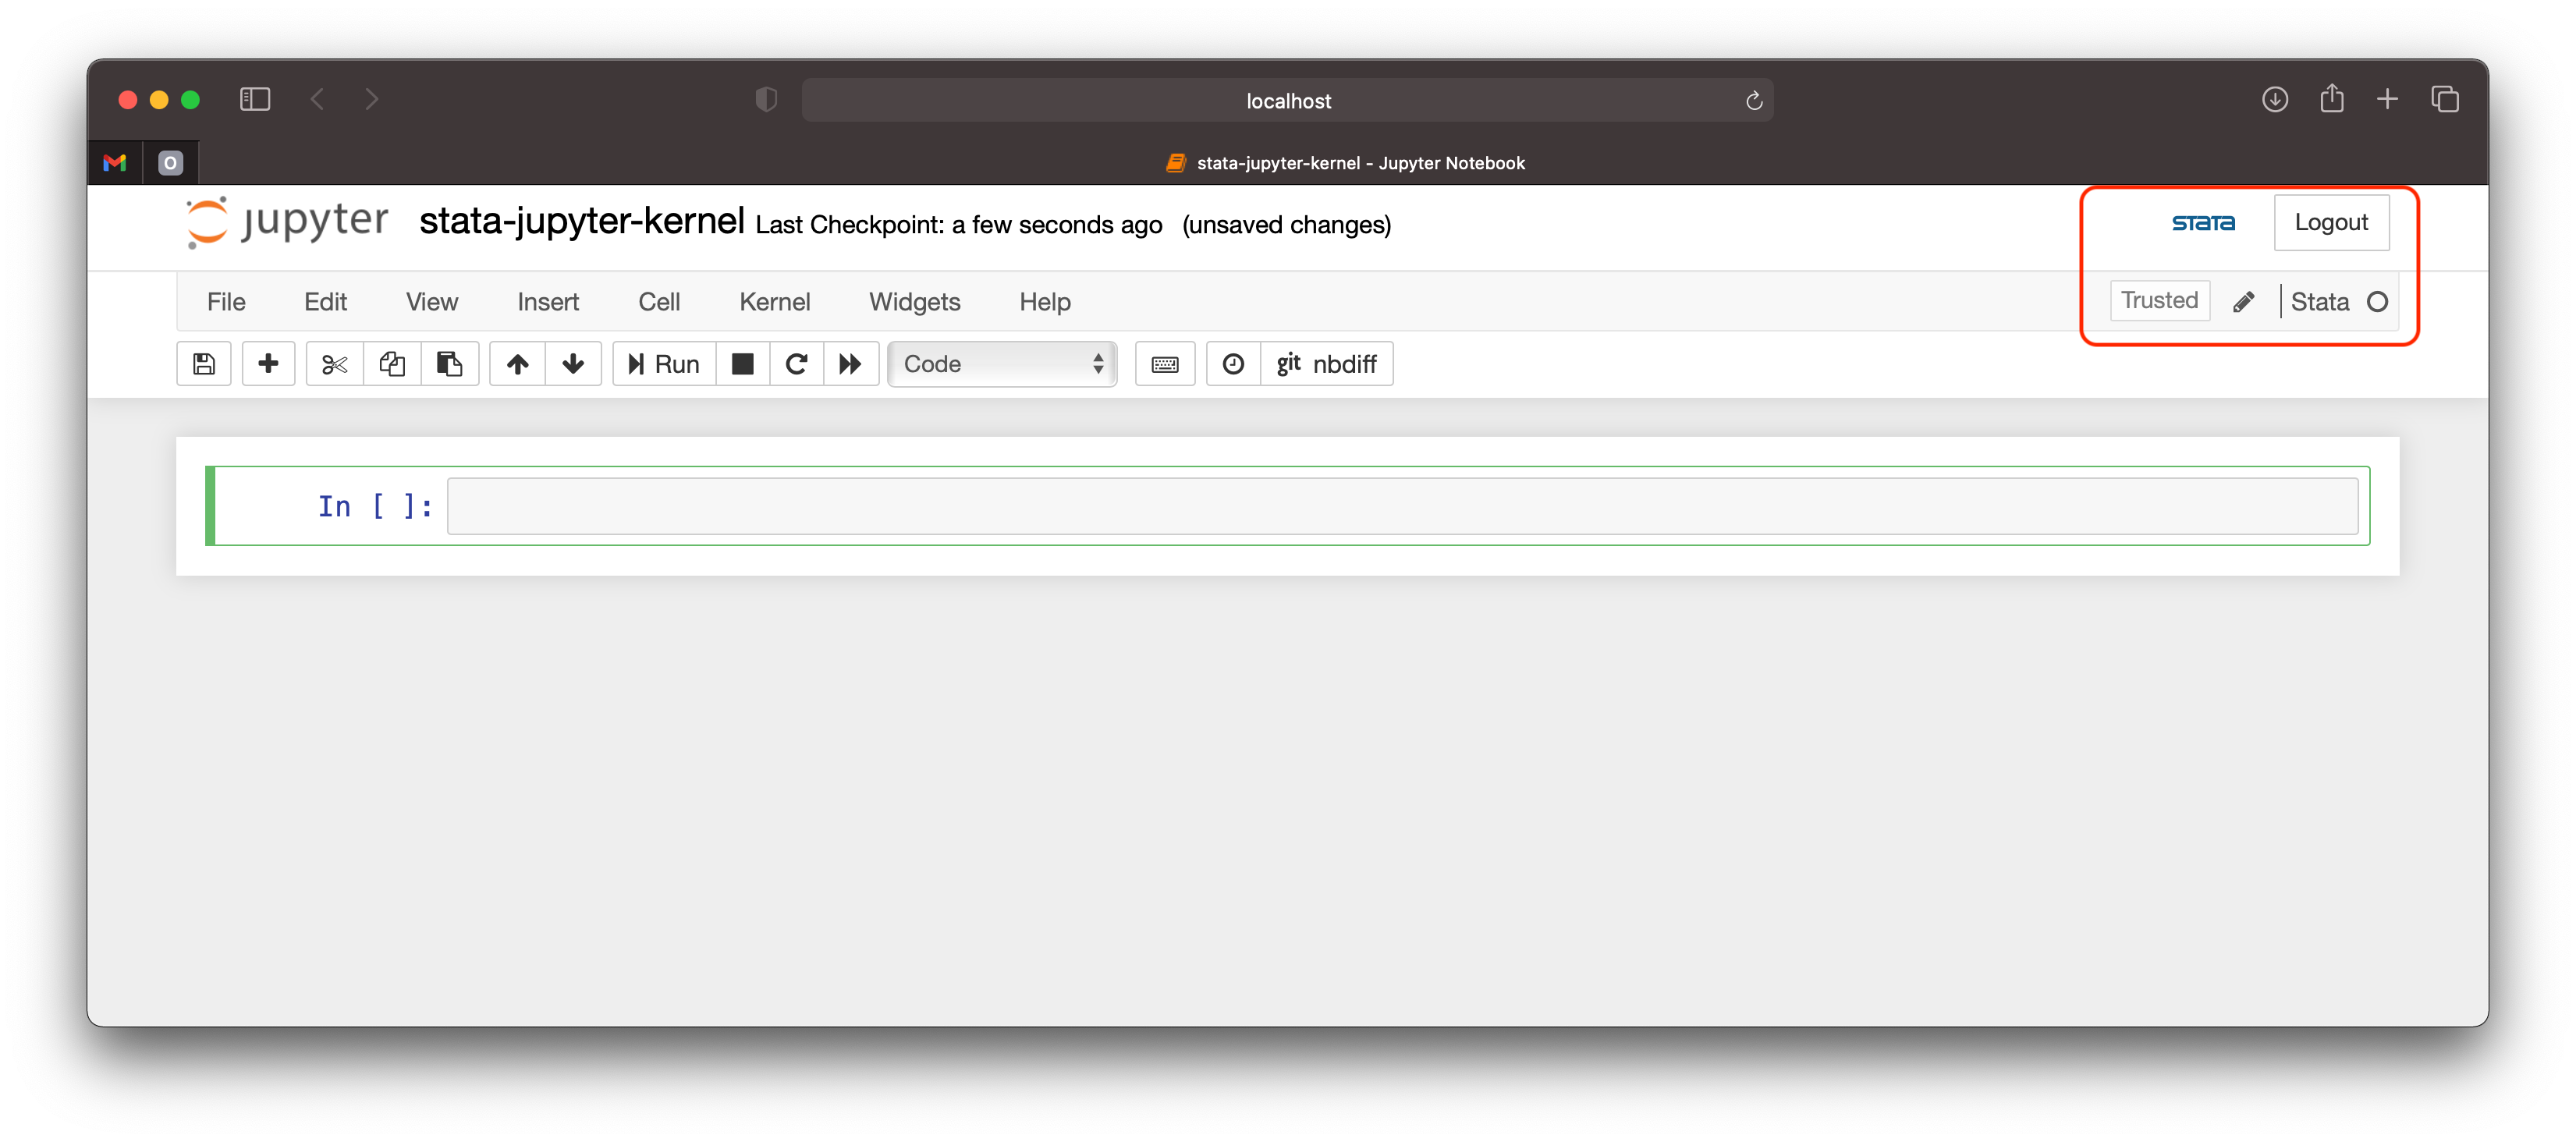
If you start jupyter notebook you should now see a stata kernel option. If selected a jupyter
notebook will open with a connection to stata. You can verify this on the top-right of the
notebook
Local Notebook Option
You can download the notebook from here
Then browse to your download location and load the notebook with jupyter:
cd ~/Downloads
jupyter notebook stata-jupyter-kernel.ipynb
Cloud Based Notebook Option
There is no cloud based option available as it is difficult to load stata onto cloud server
instances (i.e. can’t be done for free).
You can view the notebook here
IPyStata
IPyStata provides an alternative
approach which provides support for running stata commands using ipython magics.
So you remain in a python notebook and interface with stata when needed.
To install you can use pip:
pip install ipystata
however the released version via PyPI is a lot older than the master branch of the code repository
so to get the latest you could install using:
pip install git+https://github.com/TiesdeKok/ipystata
The documentation largely consists of a demo notebook and the README.
Setup
To setup the package you then need to configure it to know where stata is on your computer.
Open a Jupyter notebook that is attached to the python kernel.
import ipystata
from ipystata.config import config_stata
config_stata("<path-to-stata>")
This will look something like:
config_stata("/Applications/Stata/StataSE.app/Contents/MacOS/stataSE")
config_stata("C:\Program Files (x86)\Stata14\StataSE-64.exe")
This is documented here
Local Notebook Option
You can download the notebook from here
Then browse to your download location and load the notebook with jupyter:
cd ~/Downloads
jupyter notebook jupyter-ipystata.ipynb
Cloud Based Notebook Option
There is no cloud based option available as it is difficult to load stata onto cloud server
instances (i.e. can’t be done for free).
You can view the notebook here